
[message type=”info”]
This page details my attempts to build a WiFi robot based based around my Raspberry Pi.
[/message]
The aim of this project is to relearn some basic electronics and some of the practical applications of robotics as well as to just have some fun. I am going for a “modular” approach in that I would like to be able to use some of the parts in more serious real world applications and I also want to be able to quickly reconfigure the robot as and when required. I am going to start out very simple and then update/upgrade my robot as I progress with my learning. Once I get beyond the mock-up stages I will add some photographs. The robot will be controlled via a web interface.
[message]
Final Build Photographs


[/message]
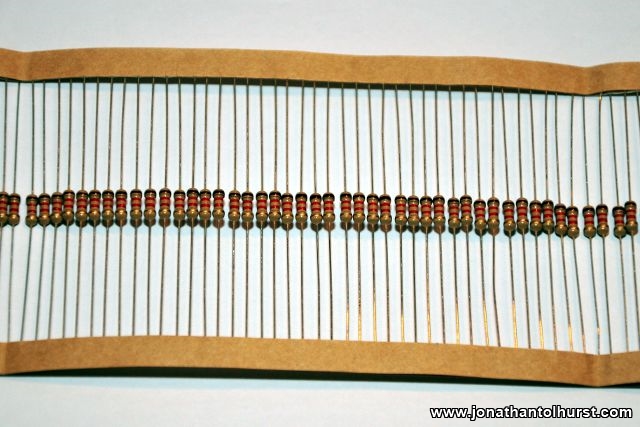
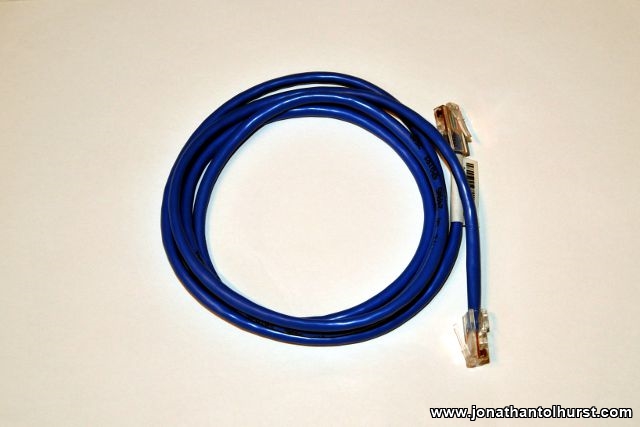
Gallery of Components

Initial Build Photographs
no images were found
Web-Interface Screenshots
[1] Login System


[2] Robot Control Joystick Options


[3] Command Line Interfaces


[4] Text to Speech Interfaces


[5] System Options and Administration


[6] Interface Layout

Hardware
Raspberry Pi Model B R1 – This will be the “brains” for my robotic system. It will also host a tiny webserver allowing me to communicate with my robotic system.
GertBoard – This is connected to my Raspberry Pi to give buffered I/O and also access to the AT Mega microcontroller (not currently implementing this as my interest has turned to the Piface).
Arduino UNO x 2 – I now have two Arduino UNOs in my robot: one looks after the “automated” mode, the second is involved in general sensing.
Arduino Ethernet Shield x 2 – Both Arduino’s are networked via Ethernet.
Sabertooth Dual 12A Motor Driver – The motor controller that controls the four drive motors (motors arranged in pairs as in a differential drive configuration.
Linksys WRT54GL – This wireless router will be mounted on to the robot chassis and will allow the robot to take it’s wireless network with it. I chose this router for several reasons, mainly because there is a large volume of information on the internet detailing how it works and how it may be modified, the fact that it can be run on 5 V power and because I found a relatively cheap second hand one. The Linksys Router is connected to the Tecknet battery pack using a 90cm USB to Type M Barrel 5 V DC power cable (It took me a while to realise that there are several types of connector jacks which have the same internal/external diameters).
Foscam FI8910W Wireless IP Camera – This IP camera will be mounted on the robot and will be the primary “eyes” of the robot. I chose this IP camera because it has excellent documentation and is well built.
X-Mi X Mini II 2nd Generation Capsule Speaker – This provides the speaker output for the robot allowing the robot to talk.
USB Virtual 7.1 Channel Sound Adapter – Very cheap soundcard, primarily used to get around the issue of “popping” when using the Raspberry Pi’s onboard sound jack.
TeckNet iEP1200 12000mAH USB Battery Packs x 2 – These each have two 5 V outputs of 1A and 2.2A. They will be used to provide the power for the Raspberry Pi and the Router. I chose this power supply as it is highly capable and I already use in real world applications.
12.0 Volt Ni-MH 2800mAh Battery Pack – This pack will provide the power for the drive motors.
New Link 4 Port USB Hub (USB 2.0 with Mains Adaptor) – A “Mains” powered hub which can be powered from the USB batter pack. This provides the power for the Raspberry Pi, and IP camera.
Lynxmotion Aluminium 4WD1 Robot Chassis. – This provides the base of the robot chassis. Although quite expensive, this appears to be a well engineered chassis.
Decks – I also purchased a Lynxmotion Add On Deck w/ Servo Holes v2.0 and then created numerous additional decks using some A4 sheets of clear (4mm) Lexan. Some thought obviously needs to go into making sure that the centre of gravity is kept as low and as central as possible. Each Deck is separated by M3 brass spacers of varying length (depending on the required distance between decks). The Brass spacers work really well and help form a structure that is very rigid.
- M3 Male-Female 8mm spacer
- M3 Male-Female 23mm spacer
- M3 Male-Female 28mm spacer
- M3 Female-Female 30mm spacer
12Vdc, 200 RPM Geared Motor – I have four of these Drive Motors arranged in a differential drive configuration. The motors are driving the wheels which are mad up of a plastic hub and some 4.75″D x 2.375″W Off Road Tyres. These are attached to the 6mm motor shaft by four hexagonal Mounting Hubs.
Sensors
(To be completed) – The plan is to integrate as many sensors as possible into my robot project which requires me to learn how they work using my Arduino before moving them onto my robot platform. The aim is to enable web based access to real-time data as well as providing data logging capabilities.
Microphone
- A Microphone will be attached to the IP Camera
Thermatic Imager
- Cheap-Thermocam (Instructions on building the Thermocamera)
Temperature Sensor
- DALLAS DS18B20 1-Wire Digital Temperature Sensor
- 1 x 4K7 Resistor
- Dallas Temperature Control Library
- One Wire Library
Barometric Sensor
- BMP085 Barometric Barometer Digital Pressure Sensor
Infared Motion Sensor
- HC-SR501 Infrared Sensor Module (PIR ) Motion Detector
Ultrasonic Sensors
- HC SR04 Ultrasonic Distance Sensor
- Arduino New Ping Library for Ultrasonic Sensors (on Google Code)
Magnetic Sensor/Compass
- Three-Axis Digital Compass HMC5883L
- HMC5883L Arduino Library
Software
Software Installed on the Rasberry Pi
- Lightweight Webserver
- JQuery Framework
- JQueryUI
- TightVCN
- pyserial
- WEBIOPI
- Arduino
- Minicom
- eSpeak
Software Installed on then Linksys WRT55GL Router
- Open WRT
Software Installed on the “Control” PC
- Google Chrome Browser
- Putty
- TightVNC Viewer (Allows a remote desktop session on to the Raspberry Pi)
- WinSCP (For transferring files between my PC and the Raspberry Pi)
- Advanced IP Scanner
- IP Camera Tool
Also installed on my PC that I have/will use in my project:
- Notepad ++
- Arduino Software
- Fritzing
- XAMPP
- Python
Useful Sites
- Raspberry Pi (Official Site)
- Arduino (Official Site)
- Dimension Engineering (Sabertooth Motor Driver)
- Putty (A free TELNET/SSH client)
- Cheap-Thermocam (Instructions on building the Thermocamera)
- Foscam (Official Site)
- OpenWRT
- Tight VNC (Allow remote control of the Raspberry Pi)
- JQuery (Official Site)
- JQueryUI (Official Site)
- Pyserial (on sourceforge)
- WEBIOPI (on Google Code)
- Arduino New Ping Library for Ultrasonic Sensors (on Google Code)
- PHP Serial (on Google Code)
Leave a Reply
You must be logged in to post a comment.